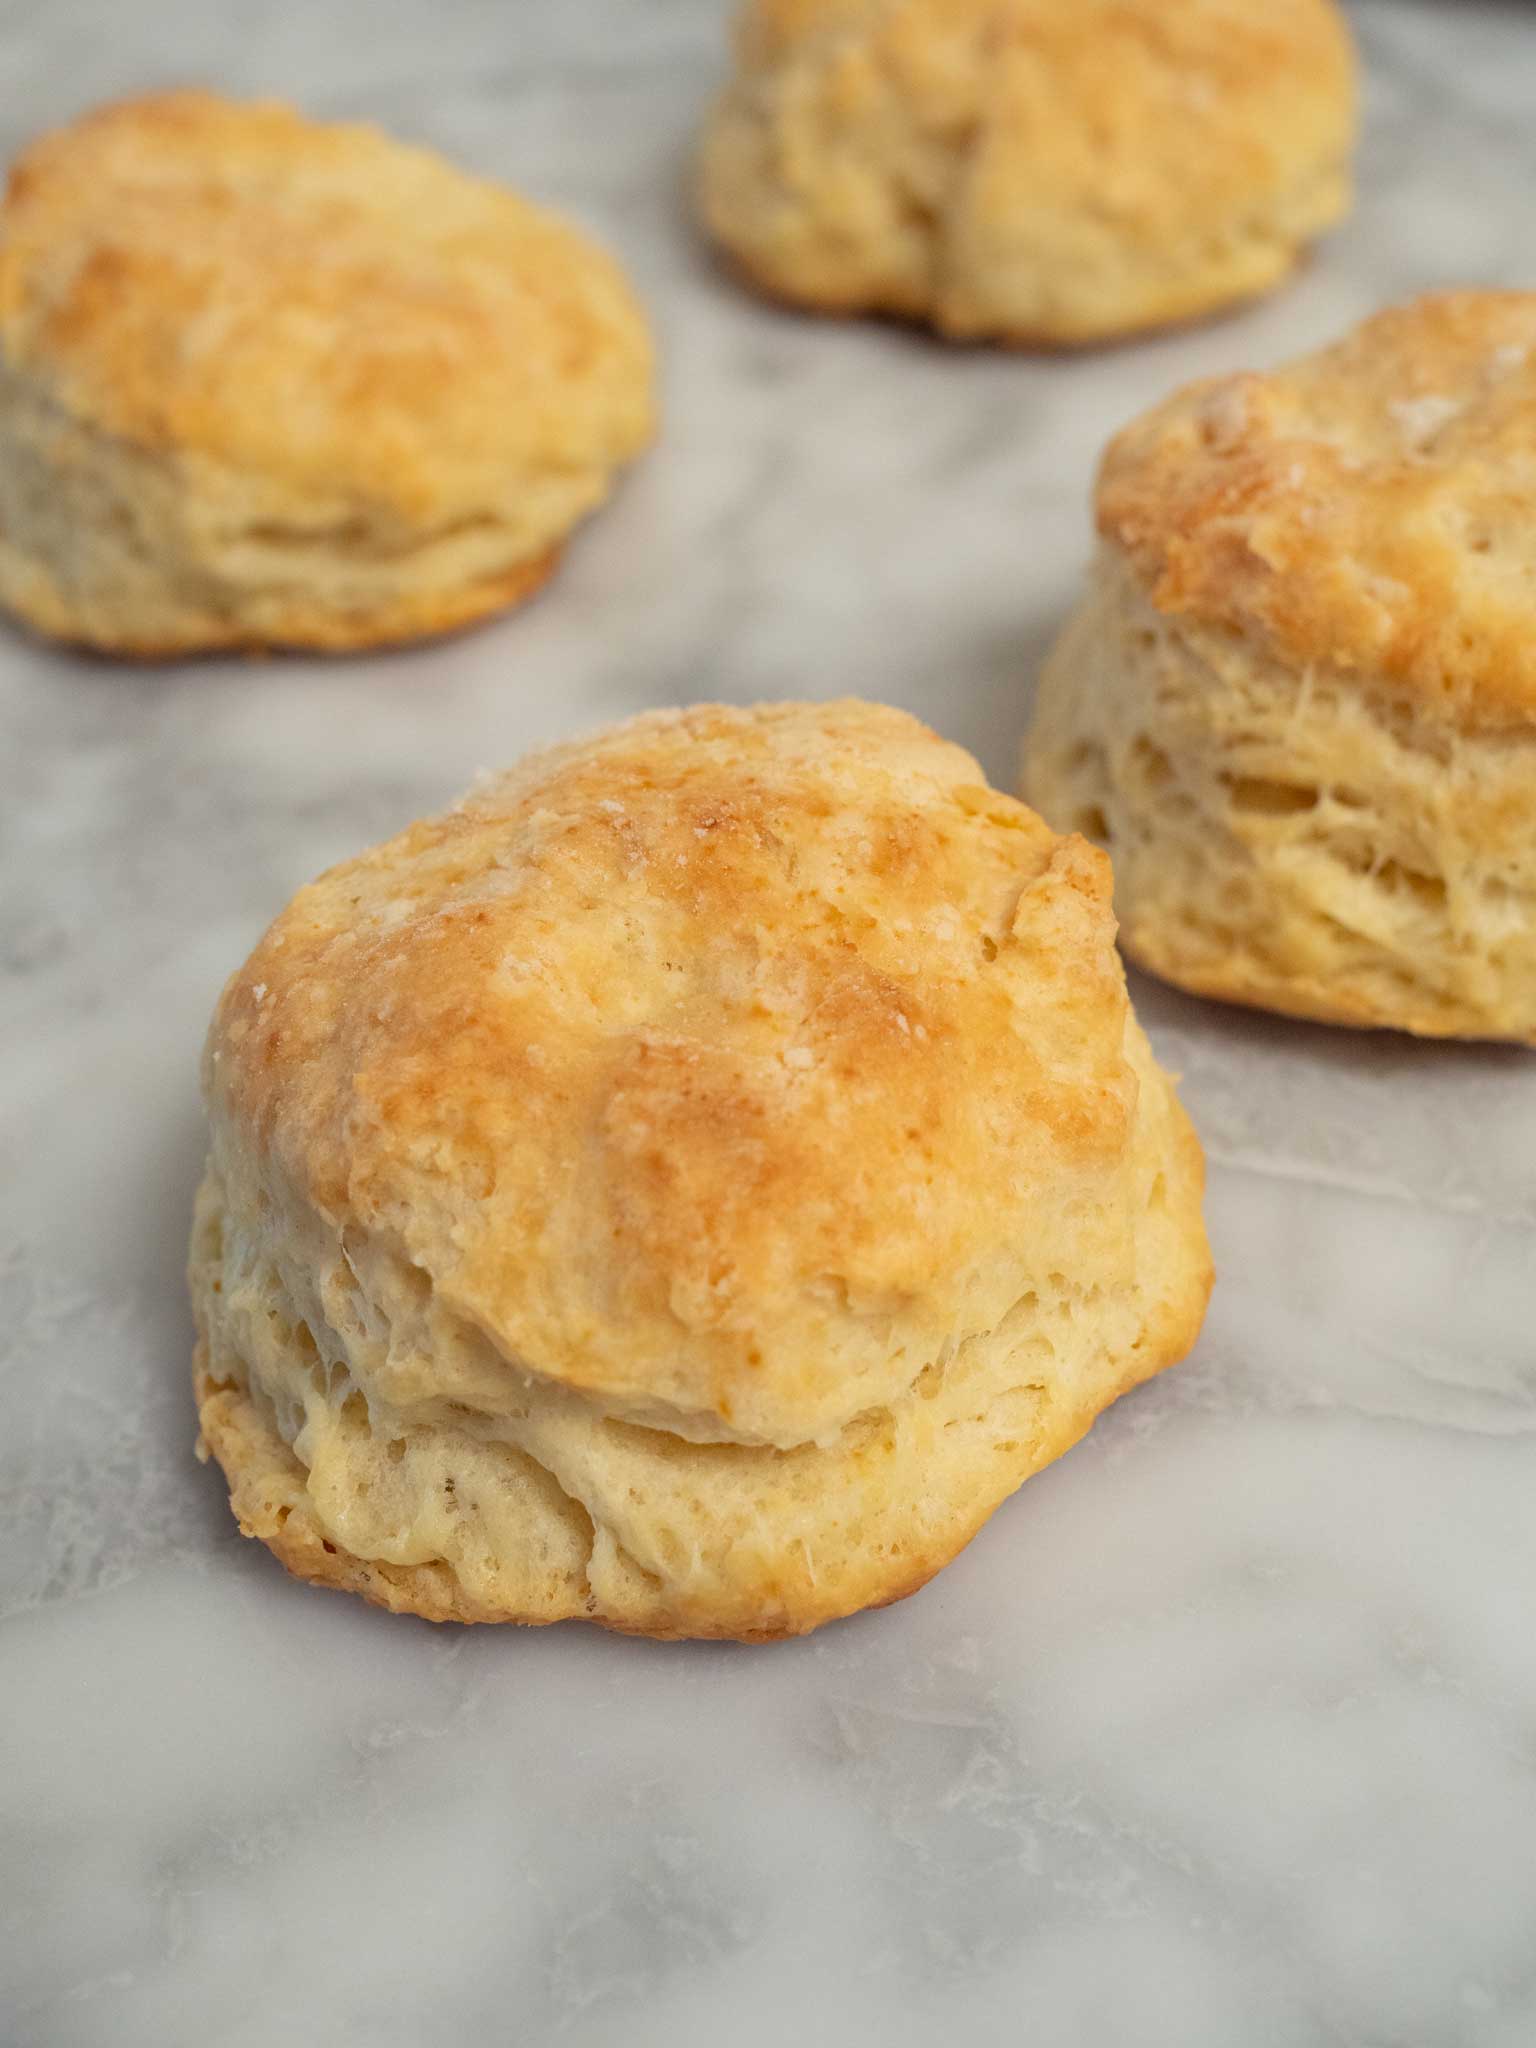
Despite spending the first quarter of a century of my life in Arkansas, I must admit I didn’t really get into biscuits until I was around 20 years old. Part of this is a result of my upbringing (though I grew up in Arkansas, my parents’ food habits were more similar those of the upper midwest that they grew up with), and part of it is a result of where in Arkansas I grew up (Northwest Arkansas, which in a lot of ways is more midwestern than southern, culturally speaking). Regardless of the reason, the only biscuit I really remember eating as a kid was from Cracker Barrel, and it left little impression on me.
At some point it occurred to me to make biscuits — I’m not sure if it was the result of Nathan waxing poetic about the biscuits of his youth, or if I was really craving bread one day and didn’t have the strength to wait 4+ hours for a yeast bread to be ready — but once I started making biscuits at home, it became an almost weekly thing. I’ve made many recipes over the years for biscuits, trying out different ratios, ingredients, and techniques, and over time I began to craft what has become my go-to recipe. The key is in the ratio: a 3-2-1 mix of flour, buttermilk, and butter that turns out consistently excellent biscuits time and time again. These biscuits are best fresh out of the oven, but they’re not too bad a couple of days later heated up in the oven, too.
buttermilk biscuits
Makes 7-8 large or 12-14 small biscuits
If you’re not a fan of using a pastry cutter, I’ve found success with a few other methods to incorporate the cold butter into flour:
- Use a sturdy fork to cut the butter into the flour.
- Use your hands to break up the pieces of butter and mix it into the flour (work quickly, as you don’t want the butter to get too warm!).
- Freeze the stick of butter beforehand, then use a cheese grater (on the coarsest setting) to grate the butter into the flour. Gently fold the shredded butter into the flour.
These three alternate methods have also worked well for me for other butter-cutting pastries (like pie crust). Once you get the hang of what an ideal dough like this looks like (the size of the butter, how the dough feels), you should be able to use any method to achieve those results.
- 3 cups (12 ounces) all-purpose flour
- 1 tablespoon baking powder
- ¼ teaspoon baking soda
- ¾ teaspoon salt
- 1 stick (4 ounces) unsalted butter, chilled, cut into 8 chunks
- 1 cup (8 ounces) buttermilk, chilled
Preheat oven to 400 degrees F.
In a large mixing bowl, stir together the flour, baking powder, baking soda, and salt until combined. Add the butter to the bowl, and, with a pastry cutter, cut the butter into the flour until the largest piece of butter is about the size of a pea. Err on the side of too big of pieces than too small so as not to overwork the dough. Add the buttermilk to the dough, then mix with a sturdy spoon until combined.
Prepare a small space on your counter by dusting it lightly with flour. With your hands, press the dough down into a rough square, then fold it from the top and the bottom toward the center in thirds, as if you were folding an envelope. Dust with flour if needed. Flatten the dough down again into a rough square again, then fold it from left and right toward the center in the same manner. (The actual shape here doesn’t matter here; the goal is to mimic a very minimal lamination of the dough.) Press the dough into a rough square yet again, then press or roll the dough out to a thickness of 1/2″ (if you’re making smaller biscuits) to 3/4″ (if you’re making larger biscuits). Cut with a biscuit cutter (2 to 2 1/2″ for smaller ones, 2 1/2″ to 3″ if you’re making bigger), then transfer to a parchment-lined pan, with biscuits spaced 2″ apart.
Bake for 14-18 minutes, or until biscuits are evenly golden brown. Cool for 5 minutes on the pan, then serve.

 menu
menu